please do visit the original pages (most will click through if you right click for properties).
 from Blogspot lady: http://cookingwithtanya.blogspot.com/2007_11_01_archive.html
There are some really cute ideas out this year-- and some great display ideas too.... i always need to start with inspiration before i get crazy and creative myself!
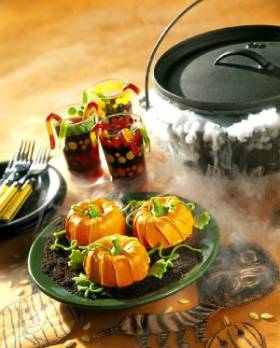
Mini Halloween Pumpkin Cakes
Servings: Makes 3 (4-inch) pumpkin cakesComments:
Serve these little pumpkin cakes for a children's Halloween party or can be served for an adult get-together also. You will be surprised how delicious these mini pumpkin cakes are. The cake batter is made with pumpkin puree, white and dark chocolate, mixed fruit bits and chopped walnuts and other goodies. When ready to serve, cut cakes in half, making enough servings for 6 people.
Ingredients:
Mini Pumpkin Cakes:
1/2 cup (1 stick/4 oz./113g) butter, softened
1/2 cup packed light brown sugar
2 large eggs, at room temperature
1 1/2 cups sifted all-purpose flour
1 teaspoon baking soda
1/2 cup canned pumpkin or pumpkin purée
1 teaspoon finely grated lemon zest
1 tablespoon fresh lemon juice
1/2 cup milk
1.5 ounces dark chocolate, chopped
1.5 ounces white chocolate, chopped
1/2 cup dried mixed fruit bits
1/2 cup walnuts, chopped
Cream Cheese Frosting:
1 (8 ounce) package cream cheese, softened
1/2 cup (1 stick/4 oz./113g) butter, at room temperature
2 cups confectioners' sugar
1 tablespoon fresh lemon juice
Orange food coloring
Garnish:
2 ounces marzipan
Green food coloring
Confectioners' sugar
Instructions:
For the Mini Pumpkin Cakes:
1. Preheat oven to 350 degrees F/180 degrees C. Coat six mini bundt cake pans with nonstick cooking spray or vegetable shortening.
2. Beat butter and sugar in bowl until light and fluffy, using electric mixer at medium speed. Add eggs, one at a time, beating well after each addition.
3. Mix flour and baking soda. Add flour mixture, pumpkin, lemon zest, lemon juice and milk. Using a wooden spoon, stir until ingredients are blended. Do not overmix. Gently fold in chocolate, white chocolate, fruit bits and walnuts. Divide batter among prepared pans.
4. Bake for 20 minutes or until a toothpick inserted into each cake comes out clean. Remove from oven and cool 5 minutes. Turn onto a wire rack and cool completely. After frosting and decorating the cakes and when ready to serve, place cakes on a platter and slice each in half to make 6 servings.
For the Frosting:
1. Place cream cheese and butter in large bowl. Beat on high speed until smooth. Gradually add half of the confectioners’ sugar, beating on low speed. Add the lemon juice, orange food coloring and remaining confectioners' sugar and beat until smooth.
2. Cut tops off cakes so that they are flat. Using a small spatula, frost the flat sides of each cake and "glue" together to form a pumpkin. Repeat with the remaining cakes. Frost the outsides of the pumpkins with the frosting. Refrigerate the cakes.
3. Knead the marzipan and a bit of green food coloring until color is blended. Sprinkle a bit of confectioners' sugar on work surface. Roll out marzipan to 1/4-inch-thick. Using a sharp knife, cut out leaf and stalks shapes. Let them air dry on a baking sheet for 3 or 4 hours before decorating pumpkin cakes.
Makes 3 (4-inch) pumpkin cakes, 6 servings (if each cake is cut in half).
Click here to view recipe and photo of Mini Halloween Pumpkin Cakes on Diana's Desserts Website


 Found another person who collects the pics HERE
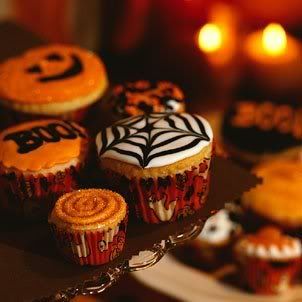
 this shot i just good-- the batter is ... well, i love this pic...
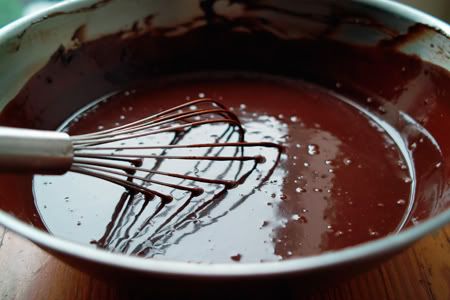 Great cooking is not about how it tastes ALONE--- the presentation is 50% of what is fun... and i have been hunting a lot more for BETTER presentations.
They need to be *pretty* or *hot* or at least not looking all ,.... sad.
x

http://www.alsadesign.com/sweetcake/image/

The 5 worst cakes in the history of cake.

1: Roadkill crow
This cake would be perfect at a roadkill restaurant or for a halloween party. I especially like the subtle use of blood, it is just enough to know that the bird is not sleeping (well – that and its broken neck).
I’ve had a hard week and it’s affected my taste. Enjoy more sick cakes at your peril…

2: The divorce cake
I have one thing to say: where was this cake when I had my divorce party? I might have added the subtle touch of a knife to the brides intent grip. It’s the groom who gets it and that’s what counts. Nice.

3: Kitty litter cake
WTF?? Seriously this is insane. Kitty litter is something smelly, that you would prefer not to think about when considering a kitten in your life. What occasion do you need this cake for? Kitty birthday? Toilet training celebration? Please advise.

4: Carrie Cake
Beautiful yes? An alternative prom – coming of age cake? See the movie and say no more….

5: Severed handy work…
Happy Halloween!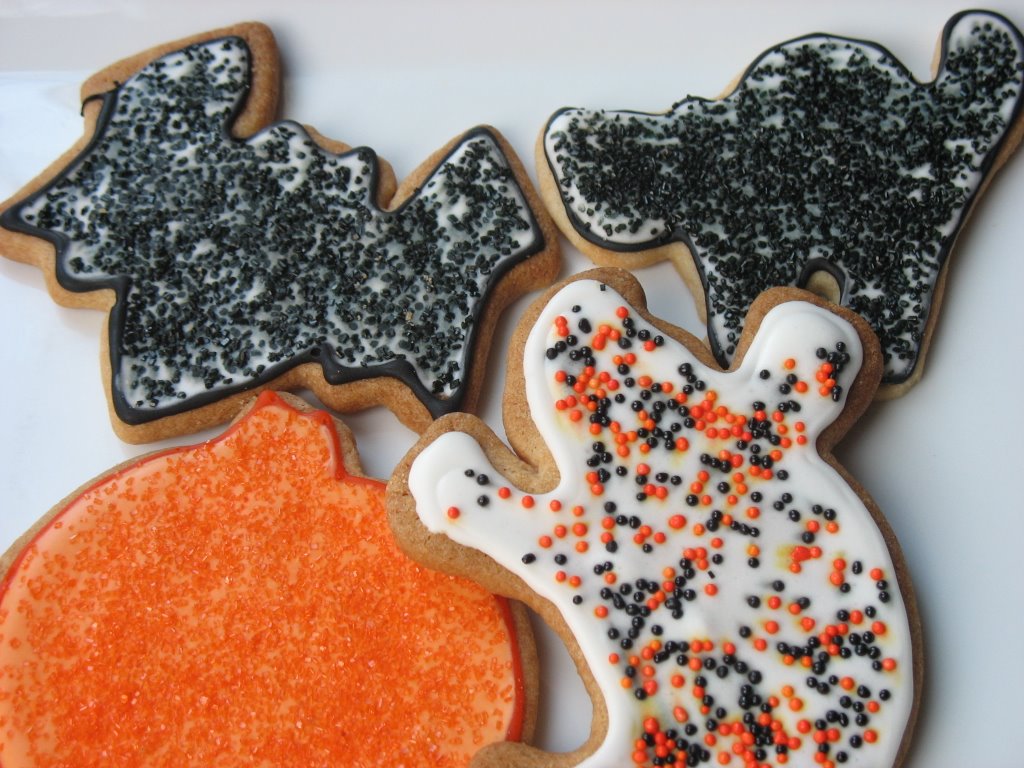
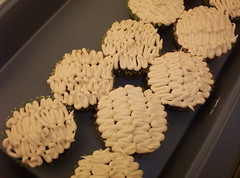
These cookies may not look like the ones you will find on the shelves of professional decorators but this is what you get for working with a dinosaur, two knights, a mermaid, a pirate and a zebra...yes, we had a slight chance of costume programming! We took the kids trick or treating on an old golf cart with a trailer attached to the back and they had a great time!
3 cups all-purpose flour
1 teaspoon baking soda
1/2 teaspoon baking powder
3/4 cup butter, softened
1 cups white sugar
1 egg
1 teaspoon vanilla extract
In a large bowl, cream together the butter and sugar until smooth. Beat in egg and vanilla. Gradually blend in the dry ingredients. Refrigerate dough, roll out and cut as desired
Bake 8 to 10 minutes in the preheated oven, or until golden. Let stand on cookie sheet two minutes before removing to cool on wire racks.
4 cups (440 grams) confectioners' sugar
3 tablespoons (30 grams) meringue powder
1/2 teaspoon extract (vanilla, lemon, almond)
1/2 - 3/4 cup (120 - 180 ml) warm water
The icing needs to be used immediately or transferred to an airtight container as royal icing hardens when exposed to air. Cover with plastic wrap when not in use.
Makes about 3 cups

2 batches decorating icing
1 batch sugar cookies, cut out using 3 1/3-inch round or octagonal cookie cutter, baked according to directions in recipe, and cooled completely
Black food coloring, preferably liquid
Special equipment: 3 pastry bags fitted with couplers, 2 #3-size (medium, round) decorating tips, 1 #1-size (small, round) decorating tip, small offset spatula, toothpicks
Color thicker icing: Divide second batch icing between 2 medium bowls. To icing in 1 bowl, gradually mix in black food coloring until icing is black. Fit second pastry bag with second #3-size tip and fill with black icing.
Fit third pastry bag with #1-size tip and fill with remaining (thicker) white icing.
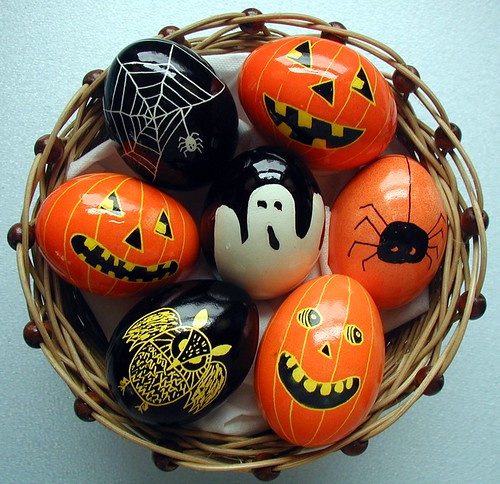
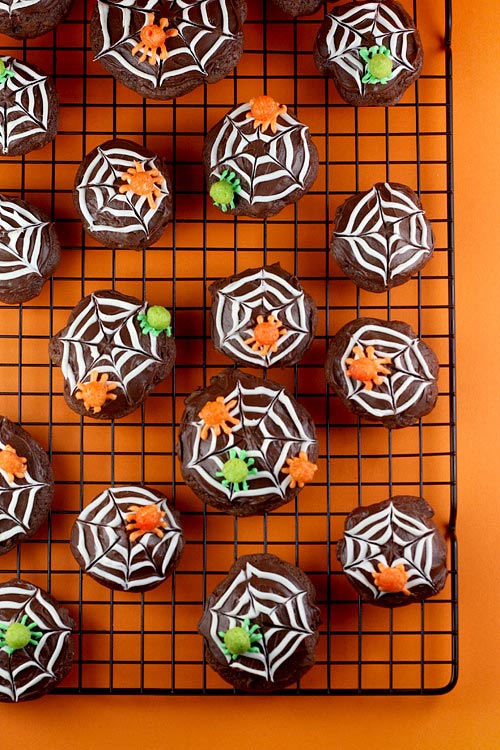
Pipe border: Using pastry bag with #1 tip and thicker white icing, pipe around outer edge of 1 cookie. Repeat with remaining cookies and let set 2 minutes.
"Flood" to fill center: Using pastry bag with #3 tip and thinner white icing, squirt pool of icing into center of 1 cookie, then spread to edge with small offset spatula. Repeat with second cookie, giving first time to set.
Pipe circles: Returning to first cookie, using pastry bag with black icing, pipe concentric circles over white icing, beginning in center and ending almost at edge. Repeat with second cookie, giving first time to set.
Form spiderweb pattern: Returning to first cookie, position tip of toothpick in center and drag through icing out to edge. Wipe tip and repeat 7 more times to make 8 evenly spaced, radiating lines like spokes of wheel.
Next, position tip at edge, halfway between 2 lines, and drag inward to center to create another line. Wipe tip and repeat 7 more times to make 8 more lines between first 8.
Repeat process with second iced cookie. Repeat with remaining cookies, working in batches of 2 to allow icing to partially set, but not harden, between steps. Let cookies dry, uncovered, at room temperature 10 hours or overnight. (Once dry, cookies will keep, layered between sheets of wax paper or parchment, in airtight container at room temperature 1 week.)
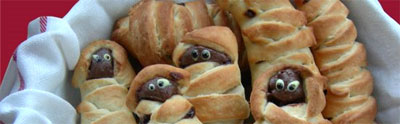
A little bit of presentation turns "pigs in a blanket" into oozy mummy dogs! This is super simple and even healthy if you follow these suggestions. Normally this meal is plenty creepy on its own since hot dogs are made from scrap pieces of various species of dead animals. Eeeew. Just grab yourself a pack of veggie dogs (I prefer Tofu Pups and Smart Dogs), some biscuit dough, and a batch of Green Goo and you’ve got yourself some yummy mummies.
tep 1: Make the Green Goo sauce. I have already posted the recipe (called “Vegan Cheese Sauce”) on the Post Punk Kitchen website, so just head on over there for the instructions. Also, if you’re feeling gourmet, you can make a swankier version called Vegan Colby Cheese Dip which is AMAZING. After it’s done cooking, put in a few drops of natural green food coloring or add a teeny bit of pureed greens like spinach before cooking (you won’t notice the flavor at all).
Step 2: Make your biscuit mummy wrapping. Either pop open a pre-made can (but really, check out those ingredients. Scary!) or make your own from scratch. I used a pre-made can for this demonstration and the flavor seriously lacked because of it. On Halloween night I will be using this recipe. Why not give it try with me?
 Step 3: Put it all together! I tried making slices in some of my veggie dogs to give the cheese plenty of room to goo around (see picture), but it didn’t seem to make any difference compared to the veggie dogs that didn’t have slices in them. So lay out your biscuit dough (a little bit goes a long way), lay down the dog, put a glob of Green Goo along the length of the dog, and wrap the whole thing up. Although it’s easier to just roll them up triangle style, it looked infinitely better when I meticulously wrapped the dough around several times to look like real mummy wrappings. Pull the dough until it’s thin and wrap, wrap, wrap. Make sure to leave room for the “face” to show so you can do a little decorating. I made slits for mouths and tiny holes for eyes filled with yellow mustard seeds. Pimento pieces for super creepy red eyes, or black mustard seeds would probably make excellent substitutes.
Step 4: Well, just bake them up! The cooking time for the biscuits should be sufficient, but recipes and hot dogs vary, so just keep an eye on them. Proceed to chomp down. Notice the creepy, yet delicious Green Goo that oozes from your mummy and be glad that such a holiday as Halloween exists : )
After having some of the BEST soup at LU*PIN last week during a meeting, i need to have MORE:
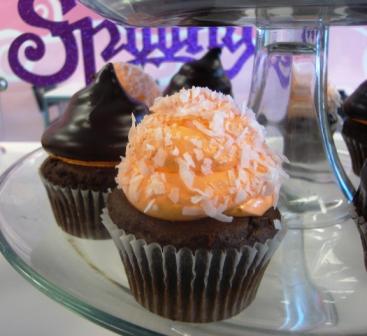

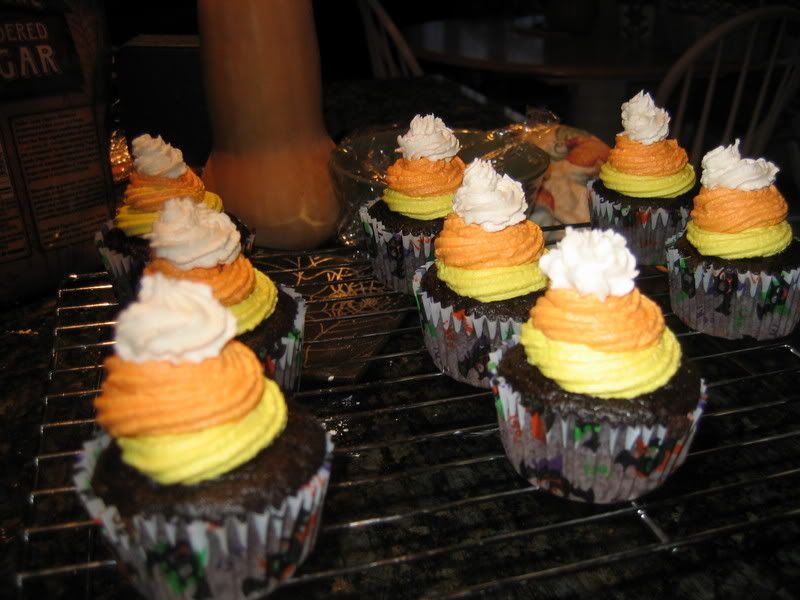
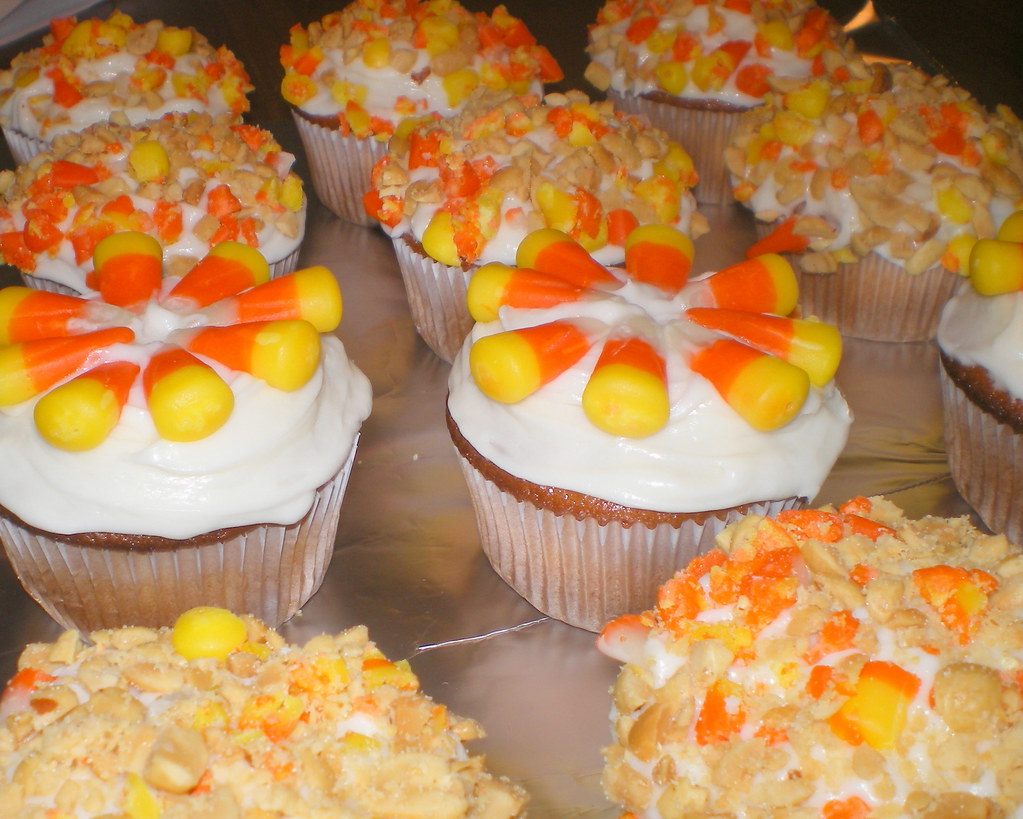 Candy corn cupcakes from


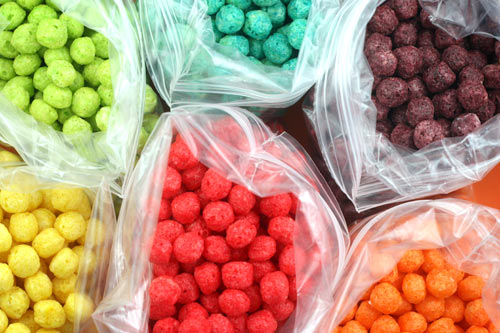
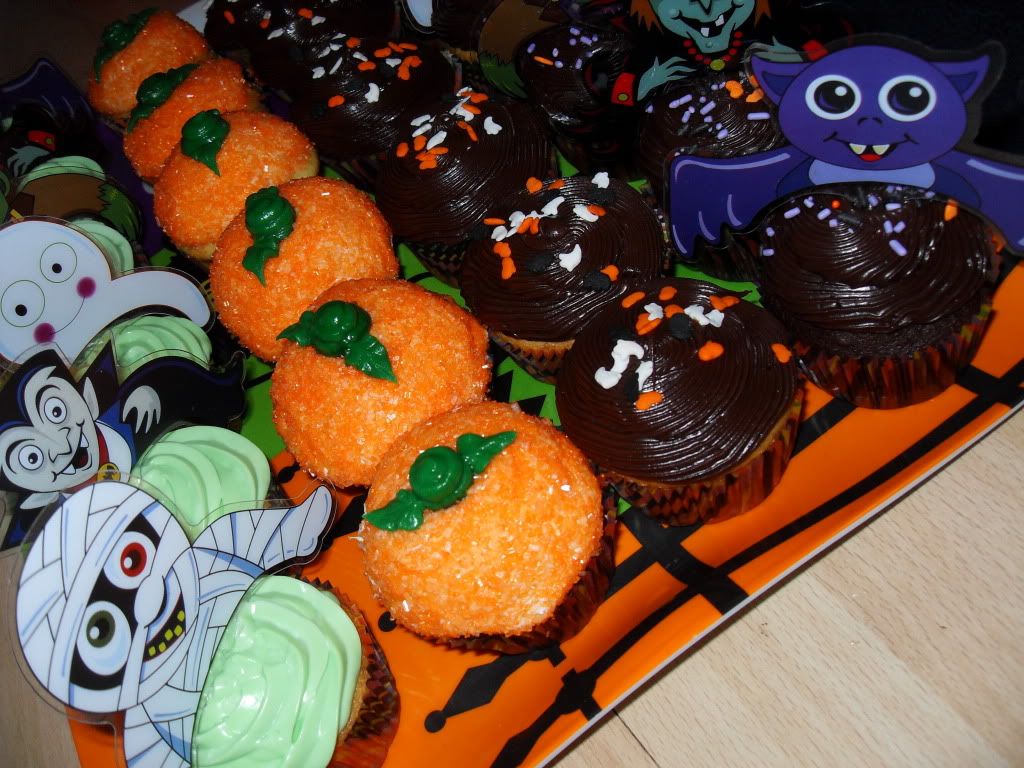
 The COLORS of halloween have changed too:


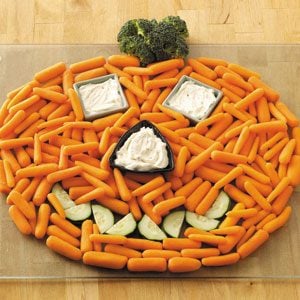
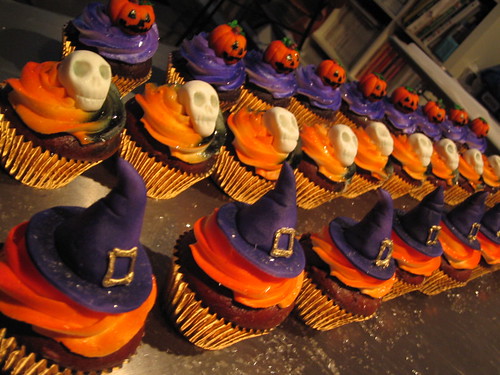
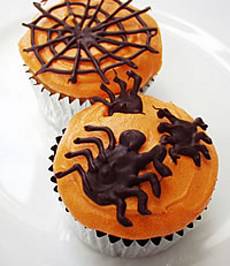
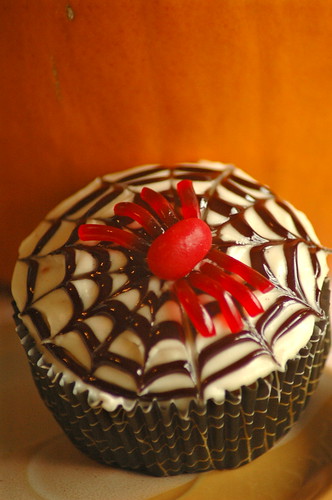
 Create a creepy scene for Halloween! Surround standard cupcakes with haunting wraps and add spooky pix in 2 eerie designs.
 THIS person had WAYYYY too much time on theiir hands:
 and this last one is one my boyfriend will love: